→ Always-On Forms
About Always-On Operations
Venue managment can run around the clock and through every day of the year.
And while Event Forms and Dashbards often overlap with Always-on operations and , we though it helpul to separate out a few popular examples:
Pick an Always-on Template
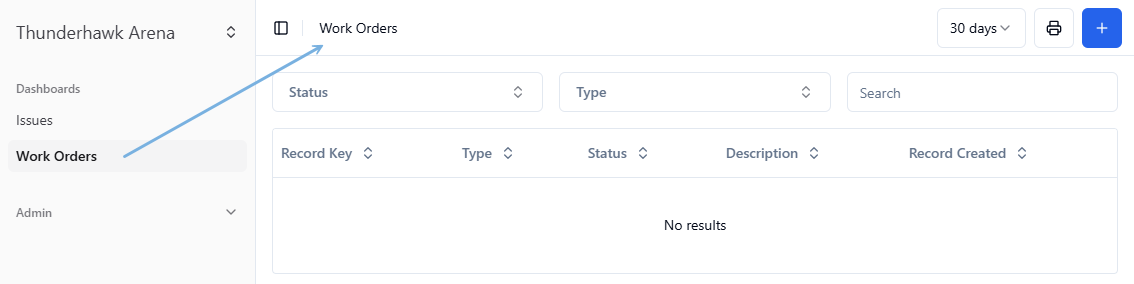
5. Work Order Form & Dashboard
The Work Order Template will generate a corresponding Dashboard to match! You can make changes to both the Form and the Dashboard as you see fit.
Create an Issue Form��
To create a new Issue Form with a Template:
-
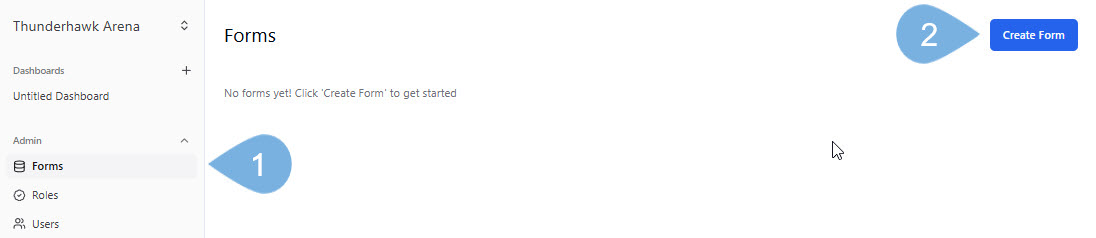
Pick Forms
-
Select Create Form
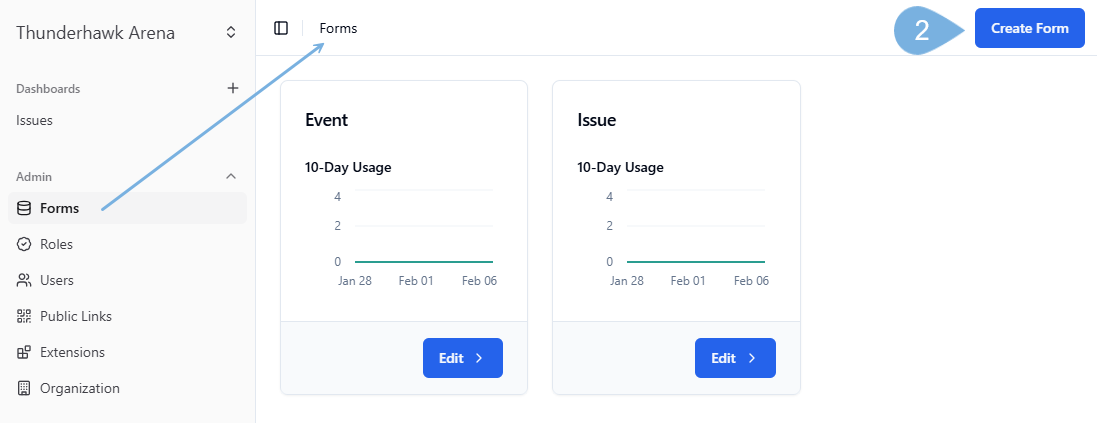
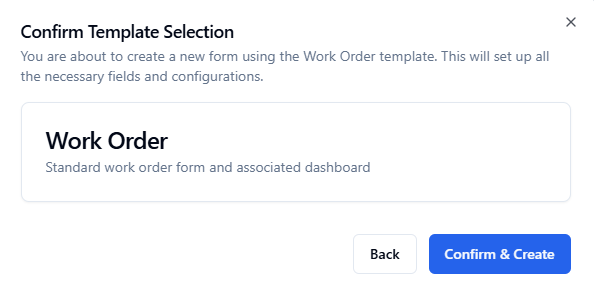
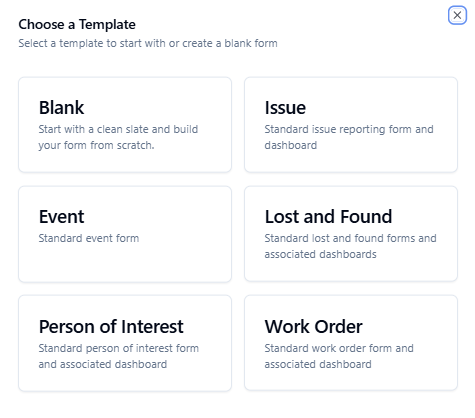
- Choose Work Order

- Click Confirm & Create
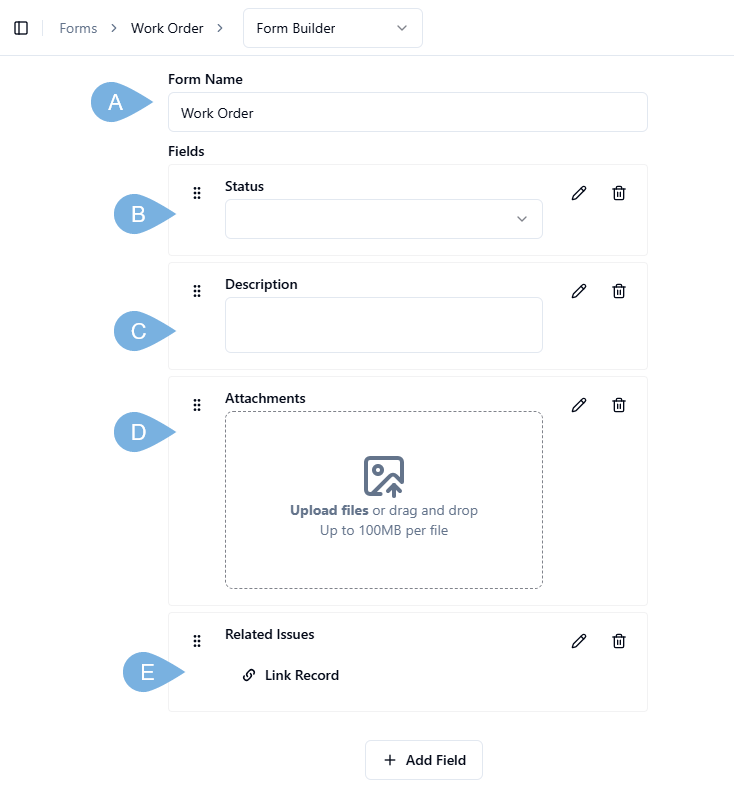
About the Work Order Template
The Issue Template has six fields (A-F):
| # | Name | Field Type |
|---|---|---|
| A | Form Name: Work Order | Text |
| B | Status | Progress Tracker |
| C | Description | Text |
| D | Attachments | File Upload |
| E | Related Issues | Related Field |
6. Blank: Build a Patrol Form from scratch
Patrol forms can be a simple or as complex as you wish to make them. Let's start with a simple 3-field form that is currently being used at a very active 20,000 seat arena with over 180 events per year.
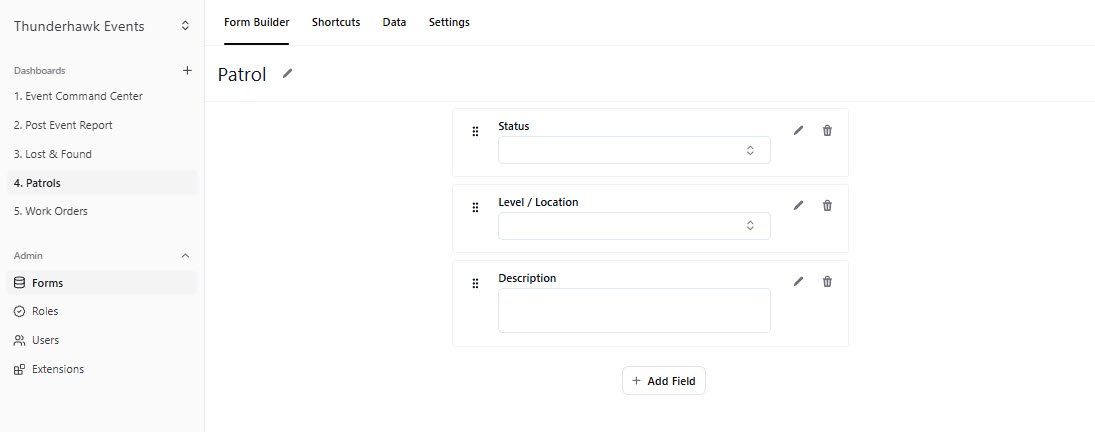
Start & name your Patrol Form
To start and name your new Form:
-
Pick Forms
-
Select Create Form
-
Choose the Blank Template
-
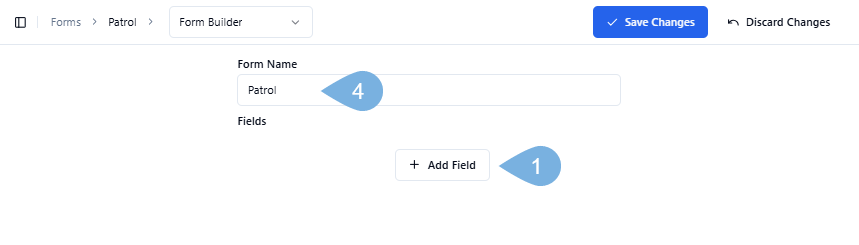
Name your form → ex. Patrol
Add a Progress Tracker
-
Click + Add Field → as marked above
-
Pick Progress Tracker from the drop-down list
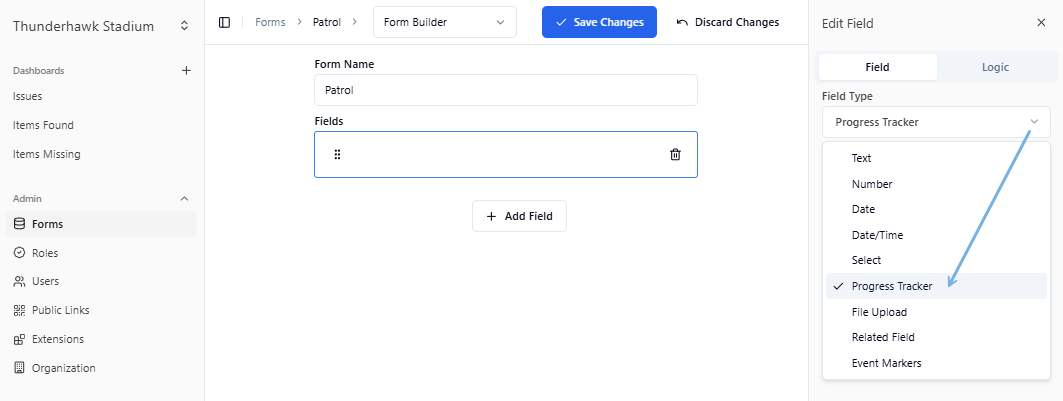
-
Name your field in the Field Name box → ex. Status
-
Click + Add Stage
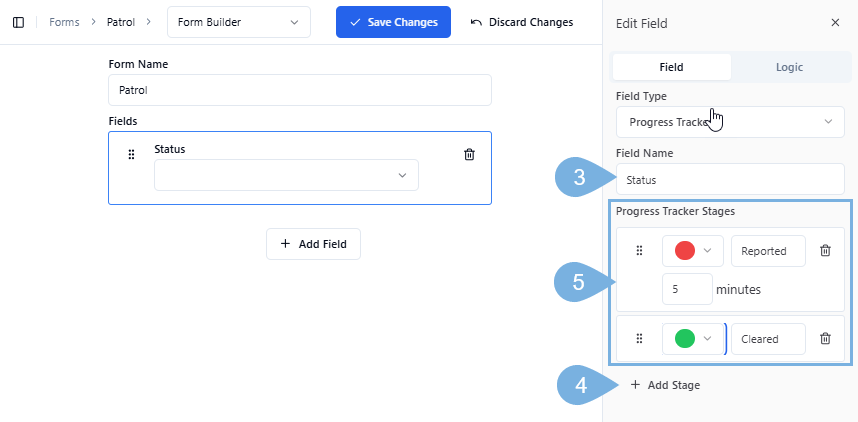
-
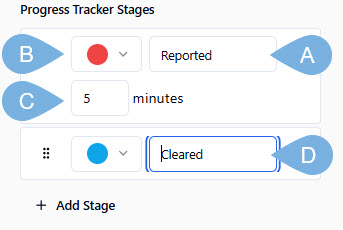
Enter your value names, add a Color (optional), and adjust the time in the Timer box
-
A. Enter your first Progress Marker → ex. Reported
-
B. Select a color (optional)
-
C. Notice a time/alarm is automatically added with a default of 5 minutes →
- The minutes determine when the Record will start flashing
- Click to add or reduce time the "alarm" goes of to fit your neeeds
-
D. Enter and name more Progress Markers by clicking + Add Stage → ex. Cleared → the color selection is optional
 About stages and efficiency timers
- Add as many stages as you like
- For subsequent stages, a timer starts automatically as you Advance to that stage
- No timer is needed for the concluding stage
-
Add a Select Level/Location Field
Some venues have hundreds of locations. Hundreds of them!
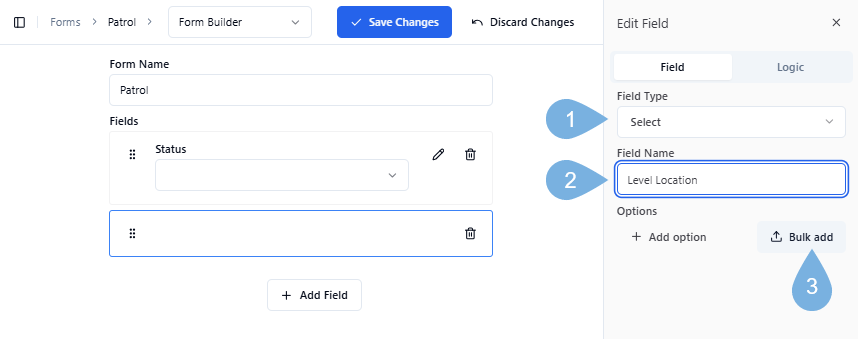
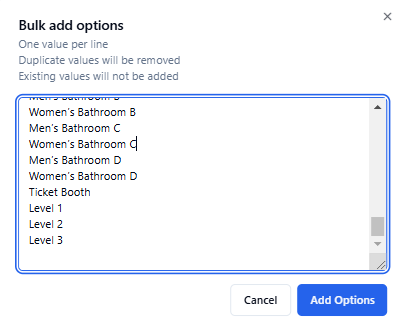
To add a long list of "Select" Field options:
-
Pick Select → for the Field Type
-
Enter a Field Name → ex. Level/Location
-
Click Bulk add
-
Paste your list of options inside the entry box
-
Select Add Options
Add a Description Field
-
Pick Text → for the Field Type
-
Enter a Field Name → ex. Description
-
Toggle over to Multiline → for many lines of text
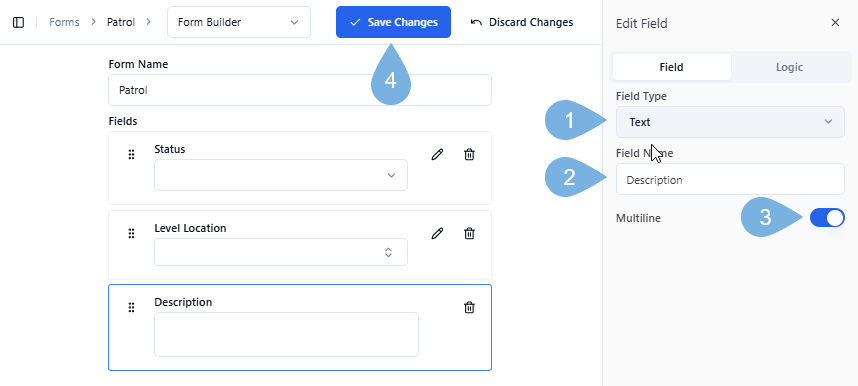
- Click Save Changes → and don't forget or all your good work goes away!
Splitting Forms into Sub-Forms
Shortcuts let you to split complex forms into smaller, specialized subforms. For example, break out Event entry Shortcuts for -- Basketball, Hockey, and Concerts and more.
Jump to our Create Shortcuts guide to see how easy Shortcuts are to create and use.